In today’s data-driven world, businesses are constantly seeking ways to enhance their online presence and gather valuable insights into user behavior. Google Tag Manager (GTM) emerges as an indispensable tool, empowering businesses to effortlessly manage and deploy marketing tags, analytics codes, and other tracking scripts across their websites. By following this comprehensive guide, you will be able to learn How to install Google Tag Manager on website successfully and unlock the power of data-driven marketing.
Table of Contents
Prerequisites for Google Tag Manager Installation
Before embarking on the GTM installation journey, ensure that your website meets the following prerequisites:
- Google Account: You must possess a Google account to create a GTM container.
- Website Access: You must have access to your website’s back-end or CMS (Content Management System) to implement the GTM code.
Step-by-Step Google Tag Manager Installation Guide
- Create a GTM Container:
a. Navigate to the Google Tag Manager website and sign in with your Google account.
b. Click on the “Create Account” button and follow the on-screen instructions to set up your GTM account.
c. Click on the “Create Container” button and choose the “Web” option.
d. Provide a container name and select your website’s country and time zone.
e. Click on the “Create” button to finalize the container creation process. - Install the GTM Container Code:
a. Access the “Install Tag Manager” section within your GTM container.
b. Copy the two code snippets provided: the container code and the no-script code.
c. Paste the container code into the <head> section of every page on your website.
d. Paste the no-script code immediately after the opening <body> tag of every page. - Verify GTM Installation:a. Utilize the GTM Preview and Debug tool to test whether your GTM container is installed correctly.b. Visit your website and trigger a test tag to ensure that tags are firing as expected.
- Create and Manage Tags and Triggers:
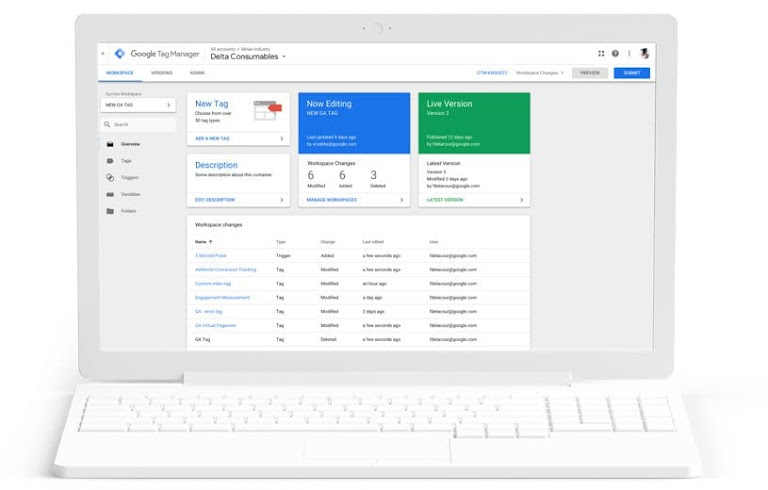
a. Explore the GTM interface to create and manage tags, triggers, and variables.
b. Configure tags for various tracking purposes, such as Google Analytics, AdWords conversion tracking, and social media analytics.
c. Set up triggers to determine when specific tags should fire.
d. Utilize variables to dynamically populate tag parameters with relevant data.
Additional Considerations
- GTM User Permissions: Manage user permissions within your GTM container to control access and prevent unauthorized changes.
- GTM Testing and Version Control: Regularly test your GTM configurations and implement version control to maintain a stable and effective tracking setup.
- GTM Support Resources: Utilize Google’s extensive documentation, community forums, and support channels for assistance and troubleshooting.
FAQ: How to install Google Tag Manager on website
What is Google Tag Manager (GTM)?
Google Tag Manager (GTM) is a tag management system that allows businesses to easily manage and deploy marketing tags, analytics codes, and other tracking scripts across their websites. GTM eliminates the need to manually add and update tracking codes, making it a more efficient and centralized approach to tag management.
Why should I install GTM on my website?
There are several benefits to installing GTM on your website, including:
1. Easy tag management: GTM provides a user-friendly interface for creating, managing, and deploying tags without the need to manually edit website code.
2. Flexible tag implementation: GTM allows you to implement a wide variety of tags, including Google Analytics, AdWords conversion tracking, social media analytics, and more.
3. Centralized tag control: GTM provides a centralized location for managing all of your tracking tags, making it easier to keep track of and update your tracking configurations.
What are the prerequisites for installing GTM?
To install GTM on your website, you will need:
1. A Google account
2. Access to your website’s back-end or CMS (Content Management System)
Conclusion: Unleashing the Power of Google Tag Manager
By successfully installing and configuring Google Tag Manager, businesses can harness the power of data-driven marketing, gaining valuable insights into user behavior, optimizing marketing campaigns, and ultimately driving business growth. Embrace the power of GTM and elevate your website’s analytics and tracking capabilities to new heights.